


CLIPPING
MASKS FOR TYPOGRAPHY
1.
Create a new document in Photoshop. Type your word(s). I chose
“CLIPPING MASK” to keep things simple, but you could choose your own text.
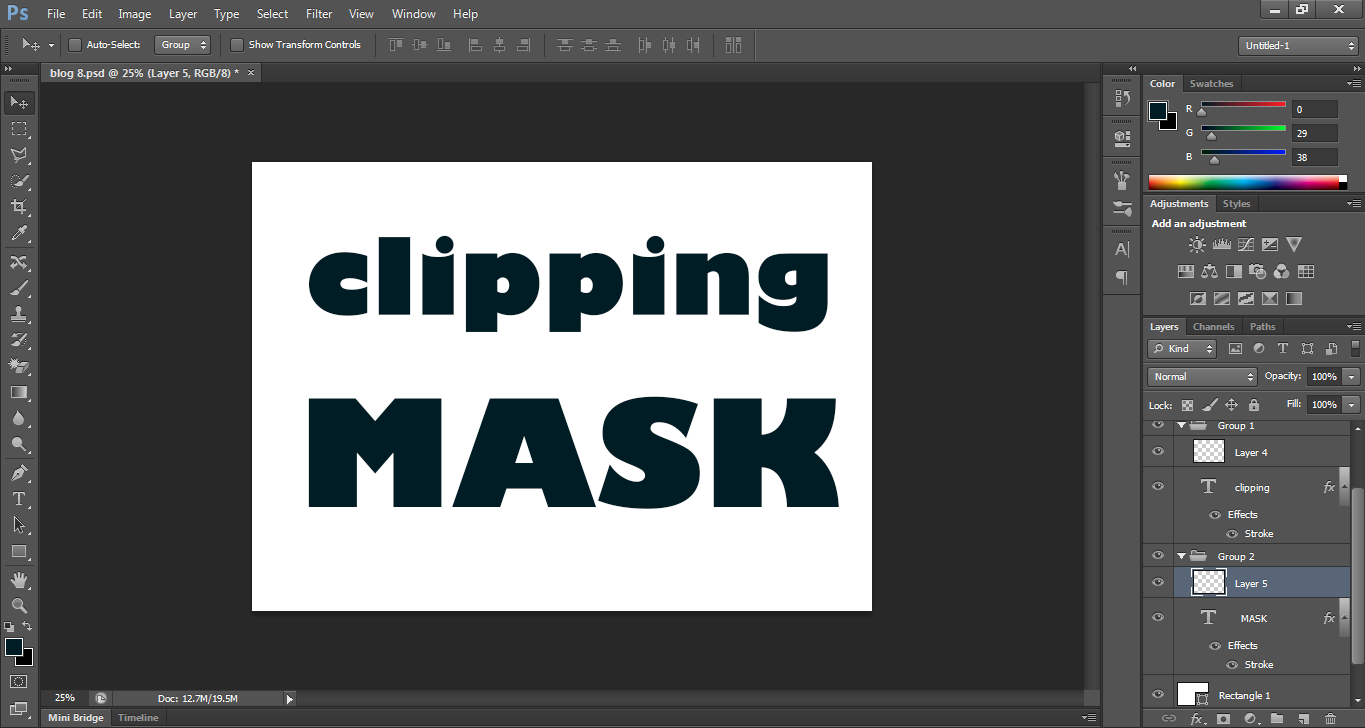
2.
Create a new layer on top off your text layer. You can
create a new layer either by going to Layer >> New >> Layer (in the
top menu) OR by clicking CTRL + SHIFT+ N OR by clicking the thing that looks
like a piece of paper next to the trash can in the bottom right of your layers
panel. New layer will be blank. Then, choose design or picture which you
want inside text. I chose crocodile picture for “MASK” word and map for “CLIPPING” word.

3.
Make sure your new layer is highlighted in the layers panel
(like mine is). Then,
go to Layer >> Create Clipping Mask. A shortcut is to hold ALT key between
your two layers (in the layers panel) with your cursor while holding down the
option key (on a Mac). You’ll see a little arrow pop up and when you click, it
will create a clipping mask.
CLIPPING
MASKS FOR CUSTOM PHOTO LAYOUTS
In
this tutorial, you’ll learn how to make a custom photo layout. I’ll show you
how to make a grid with four polygon images, but you can easily use this
tutorial to create round images, grids with more images, etc.
1.
Use the polygon tool (in your toolbar on the left) to create a
polygon. It doesn’t matter what color it is.
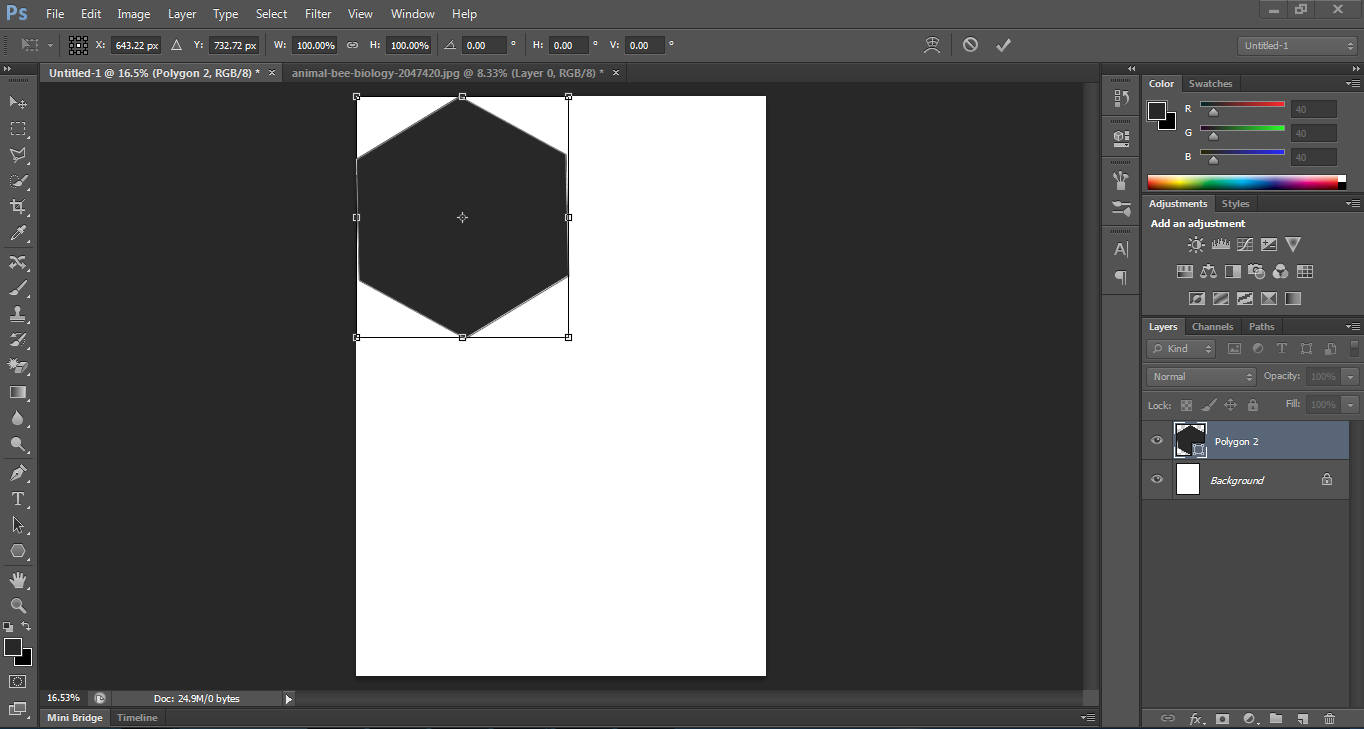
2.
Create three more polygons.
Easy way to do this. Right-click your first polygon layer and then click
“Duplicate Layer.” This will create an exact copy of your polygon, which you
can then drag next to your original polygon. Then, you can highlight the first
two (in the layers panel on the right) and click “Duplicate Layer” again and
drag those two new copies to the bottom, so that you now have four polygons of
equal proportion and in the same alignment.

3.
Drag a photo or image into your document. This photo will take
on the shape of the polygon that it sits ABOVE in the layers panel. The image
below is import, because you’ll notice that my image is above the top left
polygon in my layers panel AND it’s on top of that polygon in the actual
document.

4.
Do the same thing to all polygons of your other until you’ve
created your layout. I often create layouts like this and then save them as
templates to computer.
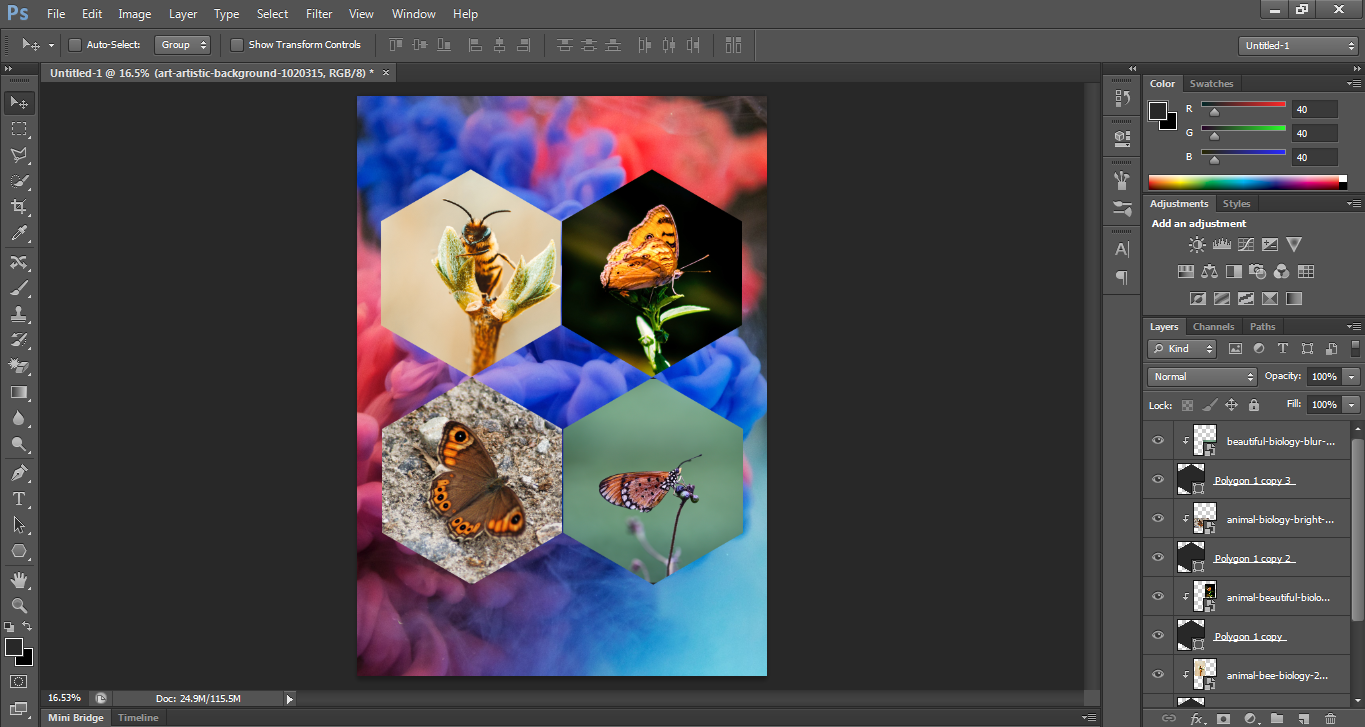
Check out Final image.

CLIPPING MASK IN PHOTOSHOP
 Reviewed by PhotoshopHelper
on
July 24, 2019
Rating:
Reviewed by PhotoshopHelper
on
July 24, 2019
Rating:
Reviewed by PhotoshopHelper
on
July 24, 2019
Rating:


No comments: